
How to Disable Automatic Windows 11 Updates
Windows 11 offers many features and upgrades (more looking wise) and has its own fans but there are some features in Windows 11 that are annoying especially when you need your computer for work or tasks that need to be done really fast.
Some of the features can slow down your PC. For example, Windows search works by indexing your files and folders; in case that you hosted so many files on your computer and wanted Windows search to find something within their content and text, indexing that amount of data takes so long.
Although these features are set to run on idle times when you don’t work with your computer, it still slows down your PC somehow and uses hardware resources specially CPU and hard disk. As the maximum speed of most computers are affected by the low performance of hard disk, most people don’t like to slow it down more by using hard disk resources for indexing.
If you think your PC is running too slow, there could be many reasons. To become sure about health of your computer, you can run computer speed test and find out the programs that use most hardware resources.
One of the annoying features of Windows 11 (In addition to many other annoying features that it has!) is automatic updates which can not be avoided in some cases. Every month Windows updates itself and downloads a big amount of data through cumulative updates and so on.
There are several methods to disable Windows automatic updates and the most easy and applicable ways are as below.
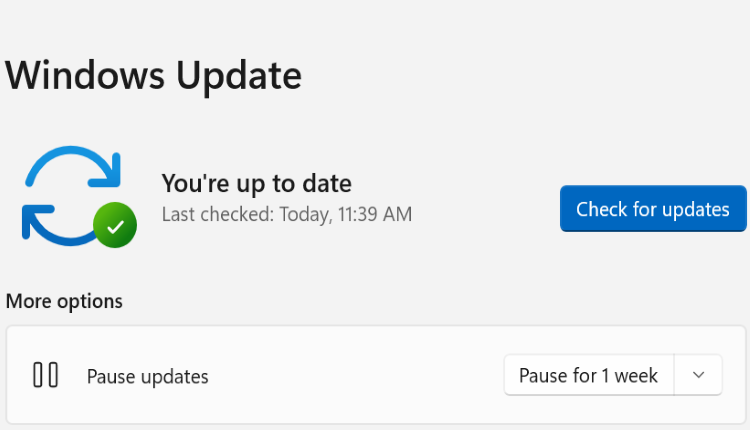
1. Pause updates for week(s)
One easy way to stop Windows updates immediately is pausing it. You can pause updates from 1 week to 5 weeks. To do so:
- Go to the Settings
- Click on Windows Update
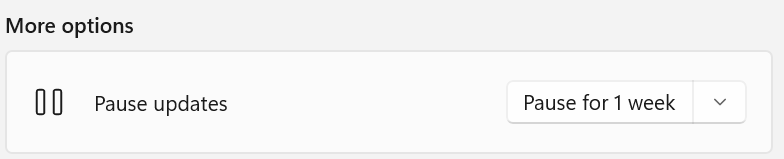
- From More Options, click on Pause for 1 week. (You can click on it multiple times to pause updates for more weeks)
2. Disable Windows updates using services.msc
This method needs some more actions and has more steps to follow as below:
- Press Windows Key + R and then type services.msc
- Look for Windows Update and after finding it, double click on it.
- In Startup Type select Disabled. The other selectable options are: Automatic Delayed Start, Automatic, Manual.
3. Disable automatic Windows updates by editing registry keys
- Press Windows Key + R and type regedit.exe
- In the Address bar copy and paste this text: HKEY_LOCAL_MACHINE\SOFTWARE\Policies\Microsoft\Windows\WindowsUpdate\AU
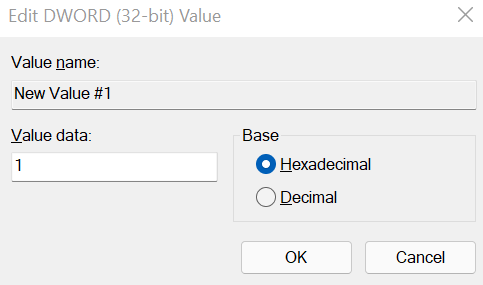
- On the right white space right click -> New -> DWORD (32-bit)
- Name it NoAutoUpdate
- Make sure Hexadecimal is selected and type 1 in Value Data
- Click on OK and restart your PC
All mentioned methods work perfectly for disabling automatic Windows 10 and Windows 11 updates and you can select them according to your needs and your preferences. If you don’t like to edit registry keys choose either method 1 or 2; otherwise you can select method 3 as well.