

How to set and schedule Windows 11 night mode
In this post, you’ll learn how to activate and schedule Windows 11 night mode.
Night Mode in Windows 11 allows you to modify the color of your display. The blue light is decreased and the warm color is boosted when the night mode is set to [on] to aid sleep.
Night mode can be manually or automatically activated. You may also change it from [Quick Settings], so we’ll go through each of these options separately.
To schedule Windows 11 night mode do as below:
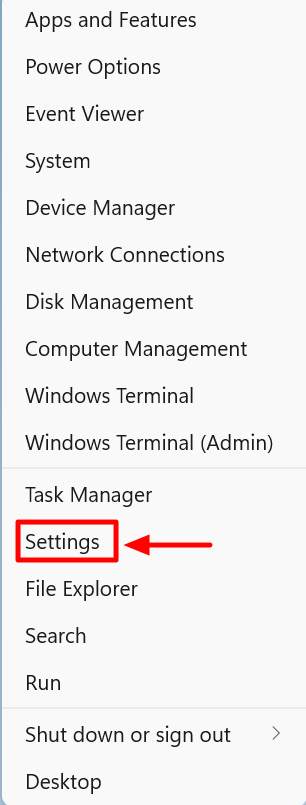
At first you need to right click on the start menu in Windows 11. Then click on the Settings option.
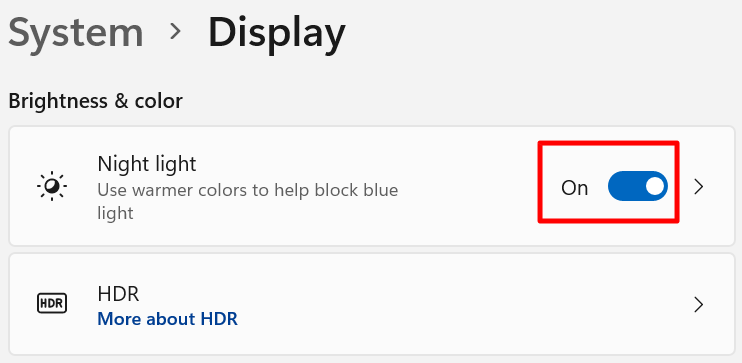
Then from the available options, click on Display.
After that to turn on Night mode, you just need to toggle the button to On.
You have successfully enabled to night mode in Windows 11. Now if you want to automatically schedule Windows 11 night mode, follow these instructions.
After you click on the Display, click on the Night mode itself.
Now in the following window. toggle the button in front of the Schedule night light to On.
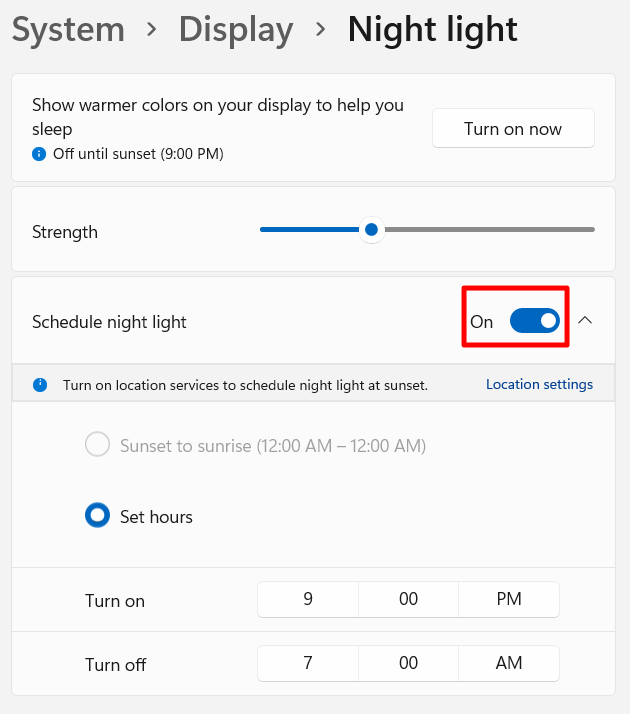
Now you can set the hours you want to turn off and turn on the night mode based on them in this window.