
How to Manually Install Drivers on Windows 11/10?
You’ll have to manually install the newest version of device drivers if your Windows 11 or 10 PC doesn’t do that automatically. This guide will show you how to manually install drivers on your device in three distinct methods.
What Are Device Drivers?
Hardware drivers in Windows 11/10 include devices that allow your system to connect and control peripherals (such as mice, keyboards, screens, and nearly any other device attached to your computer) according to instructions.
Windows can discover and update device drivers automatically. However, your system may be missing the device driver or the driver may be obsolete in certain situations. You must manually install the device driver on your PC in this situation. So, how do you manually install device drivers on your computer that run on Windows 10 or 11?
On a Windows 11/10 computer, you may manually install device drivers such as graphics drivers (NVIDIA/AMD/Intel), mouse drivers, USB drivers, printer drivers, display drivers, and so on.
You may accomplish this, for example, through settings and hardware management. These strategies will be discussed in depth in the following sections.
How to Install Device Drivers Manually?
Driver updates are always available through Windows Update. These upgrades are not required. You must check for updates manually and install them on your device.
How to Manually Install Drivers on Windows 10?
- Go to Settings -> Update & Security -> Windows Update.
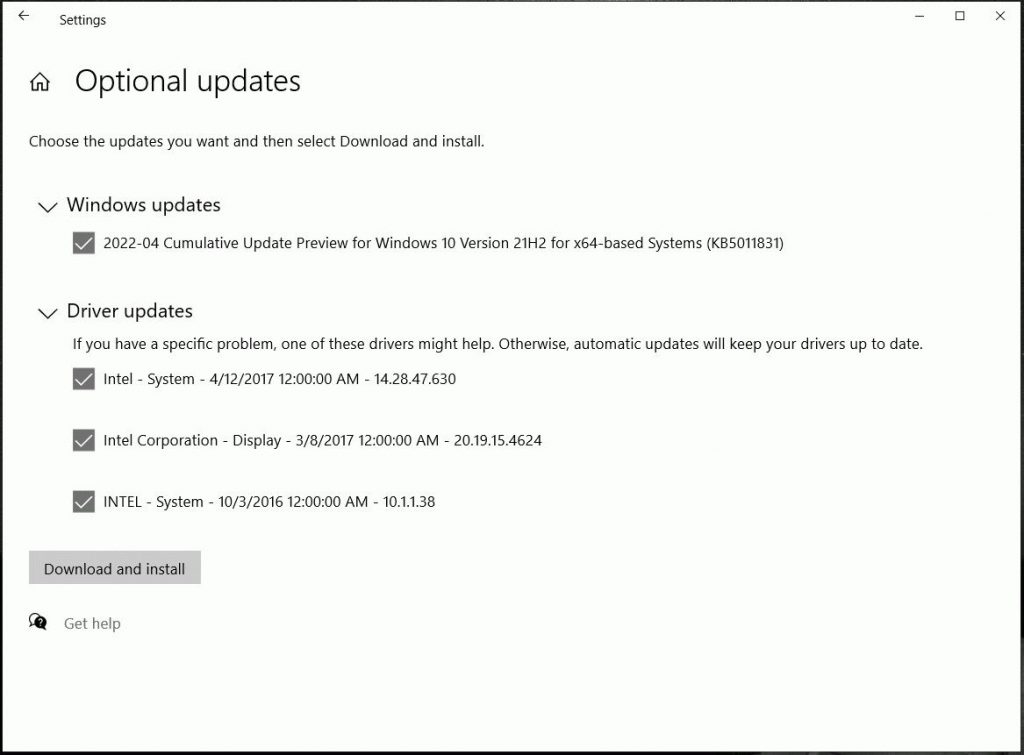
- Step 2: Select View Optional Updates from the drop-down menu.
- Expand Driver Updates in this step.
- Check for driver updates.
- Select Download and Install from the drop-down menu.
How to Manually Install Drivers on Windows 11?
- Go to the Settings app by pressing Win+ I
- Select Windows Update -> Optional Updates > Advanced Options from the Windows Update menu.
- Expand Driver Updates in step three.
- Click Download & install.
How do I manually install device drivers using Device Manager?
You may also use device management to get and install the most recent version of hardware drivers from the vendor. Here’s all you need to know:
Mathod 1 : Download device drivers from the manufacturer manually
To download the driver for your device, go to the manufacturer’s drivers and support page, search for the model or serial number (depending on the device), and click the download option.
Here’s a list of popular manufacturers’ driver sites and support:
- Intel: https://www.intel.com/content/www/us/en/download-center/home.html
- AMD: https://www.amd.com/en/support
- HP: https://support.hp.com/us-en/drivers
- Dell: https://www.dell.com/support/home/en-us?app=drivers&lwp=rt
- ASUS: https://www.asus.com/support/Download-Center/
- Acer: https://www.acer.com/ac/en/US/content/drivers
- Lenovo: https://pcsupport.lenovo.com/us/en/
Method 2 : Update Device Drivers Using Device Manager
- To access Device Management, right-click on the Start menu and select Device Management.
- Expand the category where the device you wish to install is located.
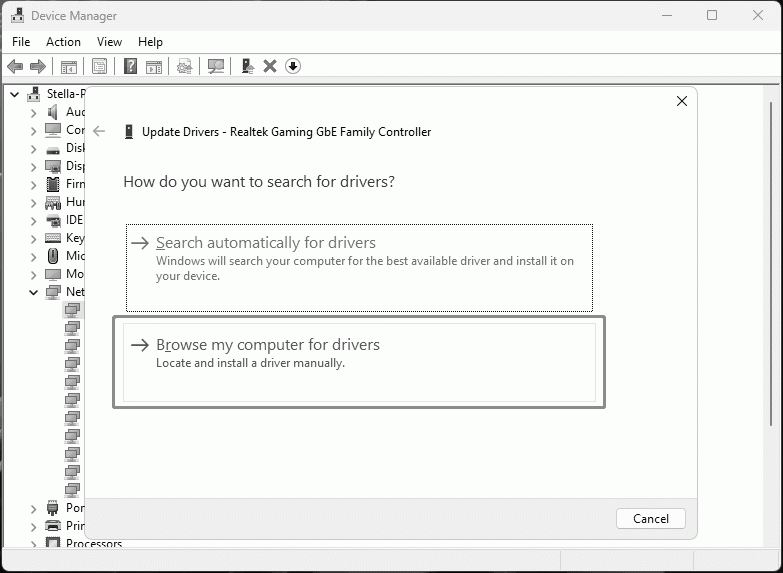
- Select the Update Driver option by right-clicking on the target device.
- Click on Browse my computer for drivers.
- Click on the Browse button from the drop-down menu.
- Choose the folder containing the driver installation files.
- Select OK.
- Select Include Subfolders to locate the .inf file with driver update instructions.
- Click on Next.
- Close the window.